
Due to Brass widow being filmed exclusively hand held i feel it’s important to use some kind of camera stabilisation. Last year while shooting Tempus Fugit we used a very ghetto camera stabilizer, a camera on a tripod held on the stem of the tripod at the centre of gravity. This worked OK but for my final 3rd year project I am keen to produce work to the highest standard. The film style could get away with not being stabilized due to the narrative but I like the type of shots glide cams produce, theres something a bit unatural about them and i feel this could add to the film, the hand held camera seems to almost fly hinting to the ghost waiting in the wings.
I started researching into ghetto steady cams, quite a popular is a very basic pole with weight at the end with your wrist acting as a gimbal. Bellow a few how to I found that use this method.
the problem with these is that they are heavy as shit and not that great, any jolt from the body gets transferred to the camera. I wanted to make a steadicam which isolates the movement from the body to the camera. One way of doing this would be to use a gimbal joint and suspend the body of the steady cam in it, the main downside to this however is gimbals are impossible to find or buy.
I started designing gimbal joints beginning with a small scale model to use as a proof of concept
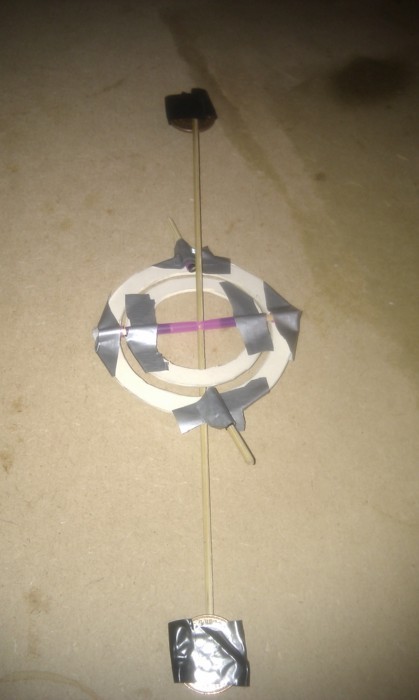
the main problem with this model was that it was totally shit and didn’t at all work, i knew gimbals work so i could only conclude that this didn’t work because the stars were incorrectly aligned for gimbal construction and not at all because i made it out of straws, duck tape and cocktail stick with tolerances put to shame by tectonic plate formation. After this great success failure i decided to do some research into what other people had made, and the design that stood out the most to me was based on the Glidecam 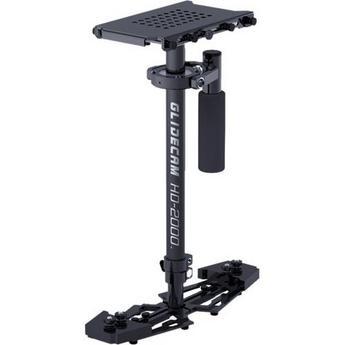
montage!
the best tutorial i found was the one bellow, the only problem is that there is only half of the tutorial so i would have to free style the rest of it
i followed the instructions ish and this is what resulted

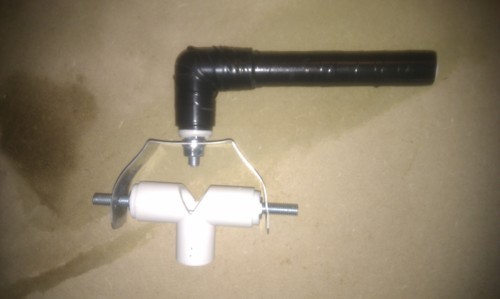
this is the bracket i used for the gimbal mount
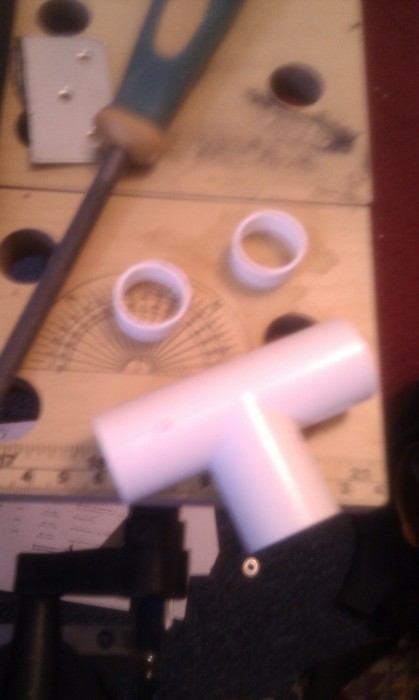
the tee joint and stoppers used for the gimbal
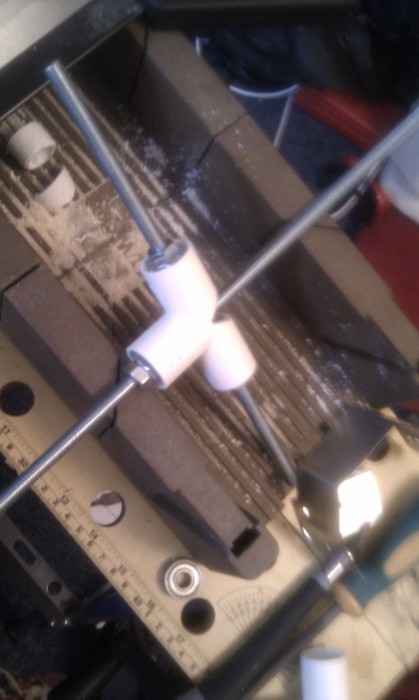
the gimbal with bearings and screw pole things
gimbal with handle
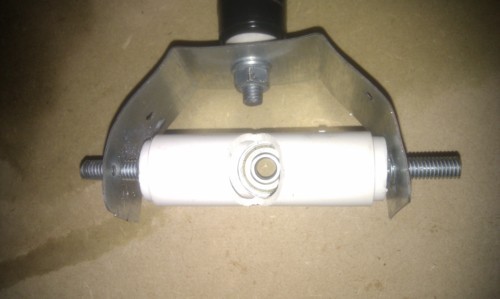
inside of gimbal showing bearing
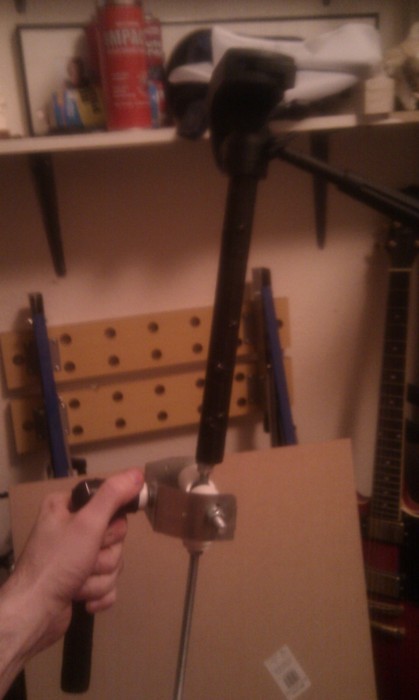
gimbal handle with tripod top
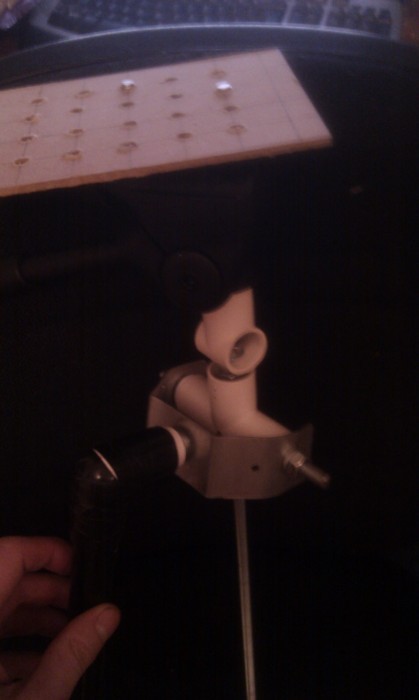
inital tests with rig were impossible to ballance so i improvised an adjustable head out of mdf, the tripod top made the whole rig too top heavy so i cut it down and used a t joint to attach it to the main pole
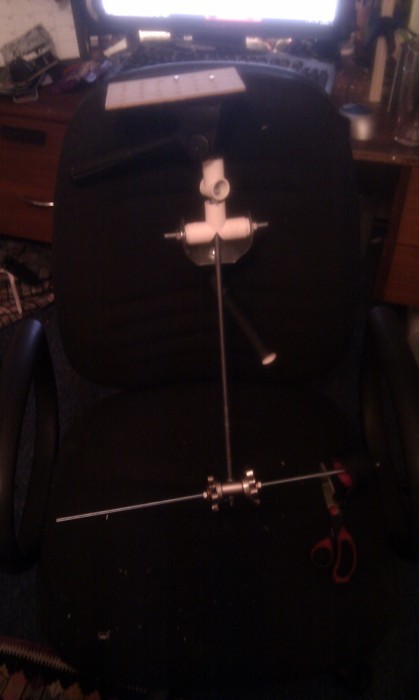
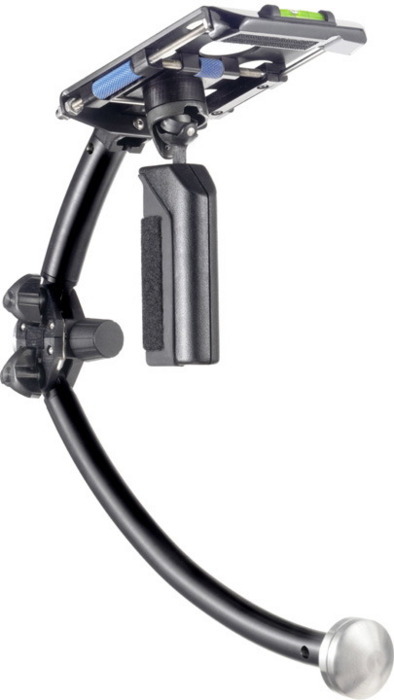
completed rig, it works ok when balanced but looks pretty shit, i’m going to make another glidecam using what i have learnt from making this one and base it more on the merlin design of glide cam (pictured bellow)
this is pretty fucking cool
ReplyDeletePretty neat stuff. This is great for amateurs that make films. I'd like to see the pics of the other one once it's finished.
ReplyDeleteWow, very interesting and helpful information here. I love making films so this will be very useful.
ReplyDeleteKeep it up!
Pro stuff right there, keep it up!
ReplyDeleteThis could be really useful - can you buy all the stuff you used in standard DIY stores?
ReplyDeleteYeah part of the brief I gave myself was that I had to be able to buy everything from a DIY store, except the bearings, so anyone can make one
ReplyDeleteI'll pass this on to my photographer buddy! Great detail work!
ReplyDeleteWhy didn't they have this for the Bourne movies
ReplyDeleteMindblown. Incredible.
ReplyDeleteKeep it up dude. I'll check back for more
Wow that's awesome, keep it up.
ReplyDelete