So after my first steady cam looked like a pile of shit i decided to make another one based on the Merlin design which would no doubt now look awesome after my years of steadicam making experience. So onto research, here’s what Yoda has to say about steadicams, “Fear is the path to the dark side. Fear leads to anger. Anger leads to hate. Hate leads to suffering.” which as i can now see with powerful hindsight is why my first attempt to build the death star failed.
So here’s some merlin style steadicams other people have made
The one common element and the biggest pain in the ass from the previous project is the gimbal joint which is replaced in these models with a universal joint instead.So with no real design in mind i bought a universal joint from a hobby shop and set out to make one.
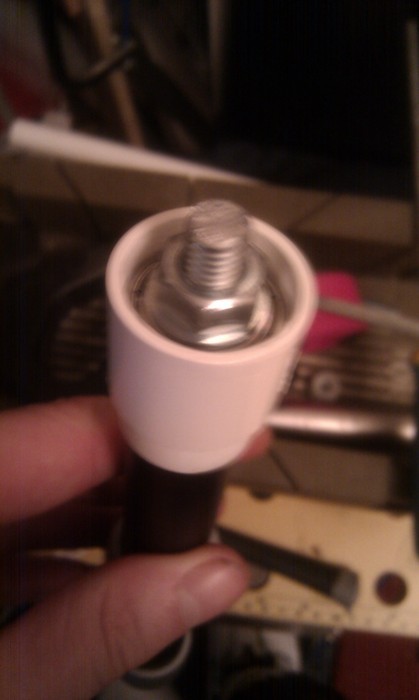
using some left over pvc pipe from my previous project i attached it to the top of an old desktop tripod and jammed a skate bearing in with some bolts to keep it in place, leaving some thread poking out to attach the universal joint to.
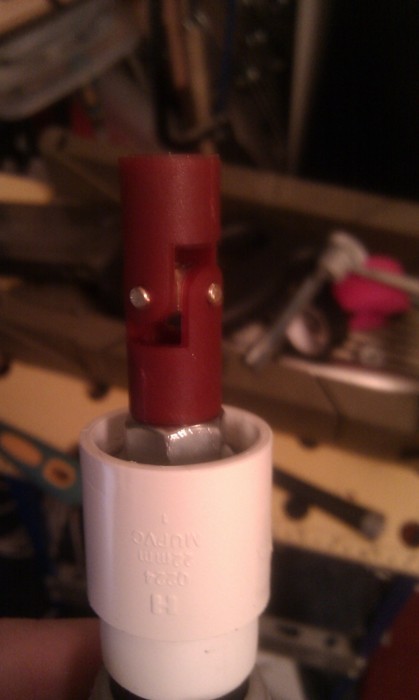
i wasnt too sure how to attach the universal joint so i just glued it hoping that the due to all the weight of the steadicam being on that point will be enough to keep it in place.
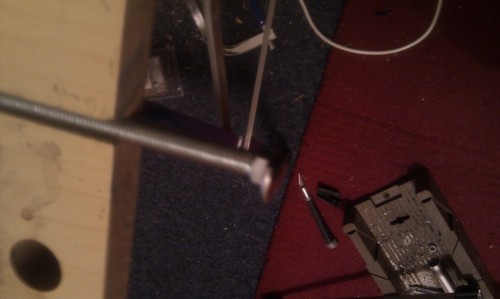
i cut down a bolt to be used for the bit that attaches the top of the universal joint to the rest of the steadicam, but this ended up not working, plans are for fools.
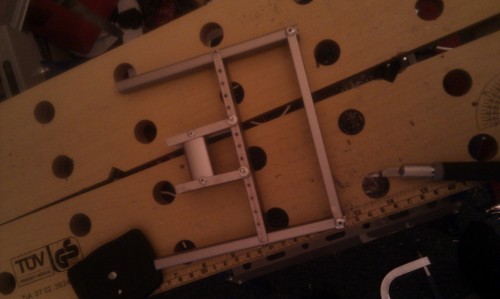
the main thing letting my previous steadicam down was the inability to adjust the cameras centre of balance so I started prototyping a way of being able to adjust the cameras position. The camera mount needs to be able to move on 2 axes of movement. My first design used pin holes which the base plate can move along on and be pined in place. This method isn’t too great due to only being able to move 1cm a time when 1mm can off balance the cam.
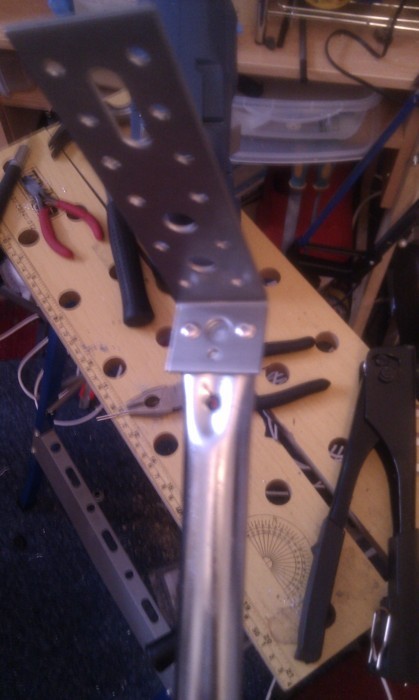
the main body of the steadicam is a mounting bracket for bikes or some shit and the other bit of metal which attaches the bike mount to the base plate is a joist bracket. I drilled and riveted these together so they are sturdy and strong like mother Russia.
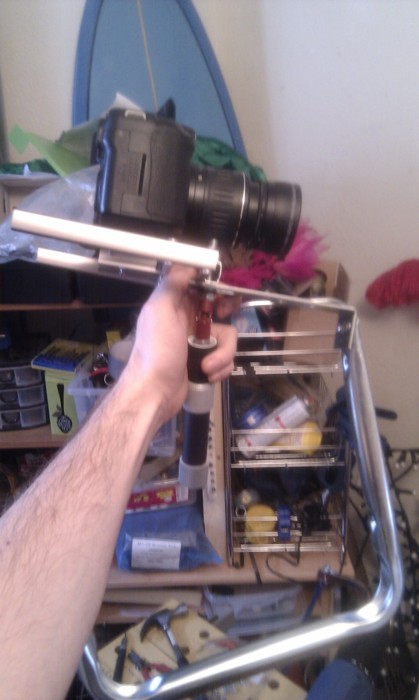
This is the two halves combined to make a whole, you then use the hole to escape the room. The adjustable base plate seems to be pretty good at adjusting. It is starting to look like a steadicam.
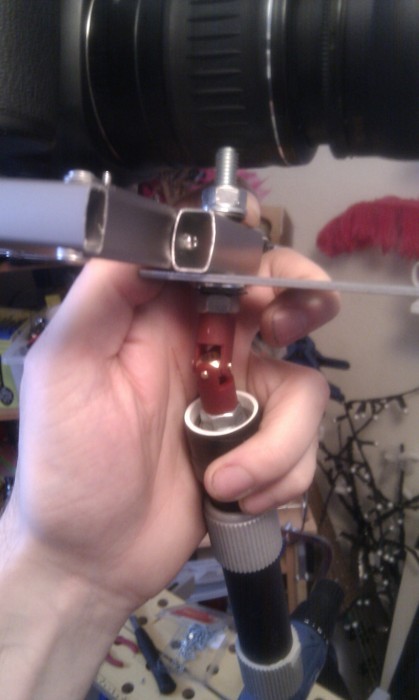
Detail showing the universal joint and the backwards wayi attached the adjustable splange to the rest of the steadicam.
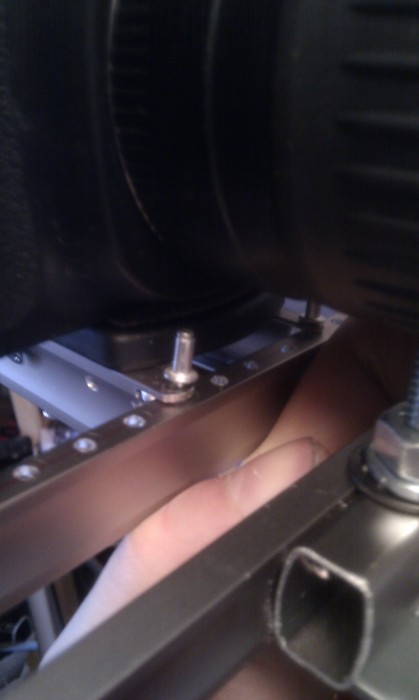
detail of the sketchy way the baseplate is attached to the adjustable doodah, at the moment it is held in place with un-riveted rivets but will be replaced with bolts.
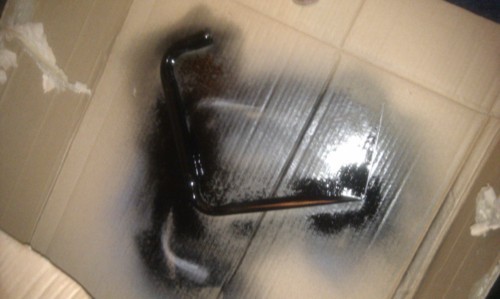
I sprayed the steadicam curvy bit black to give it a low radar signature
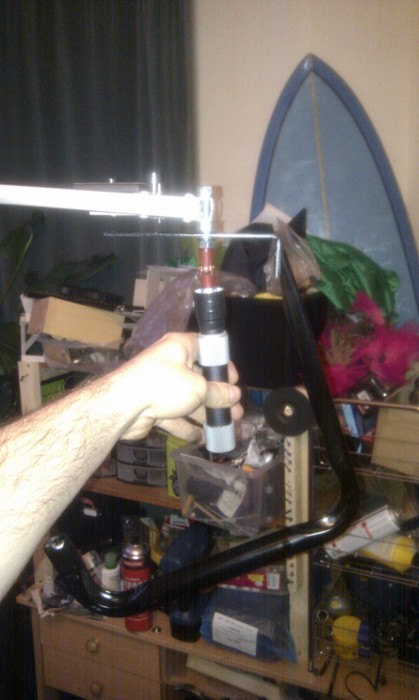
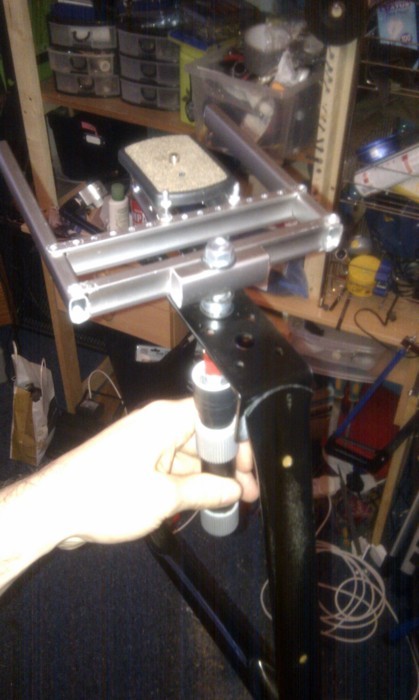
different angles of the steadicam as it stands. It still needs counter weights on the curvy bit and a better way of adjusting the base plate
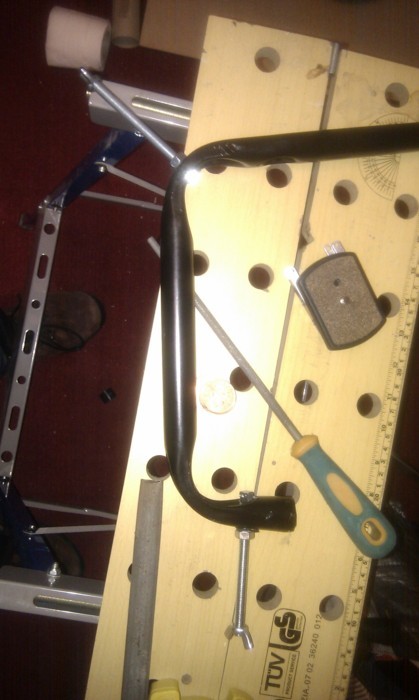
The curvy bit with bolts added for the counter weights, i kept them long so the weights can be moved closer to or further away from the main frame to adjust ballance.
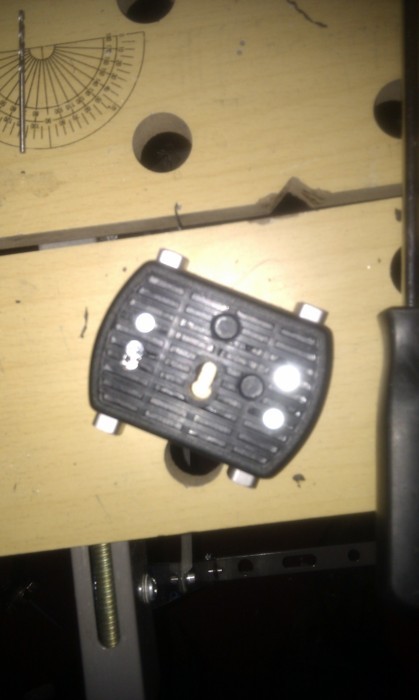
i started on a new adjustment system for the baseplate which will allow the millimetre presision it needs, the base plate has been screwed to two aluminium tubes drilled through 90 degrees to allow y axis movement.
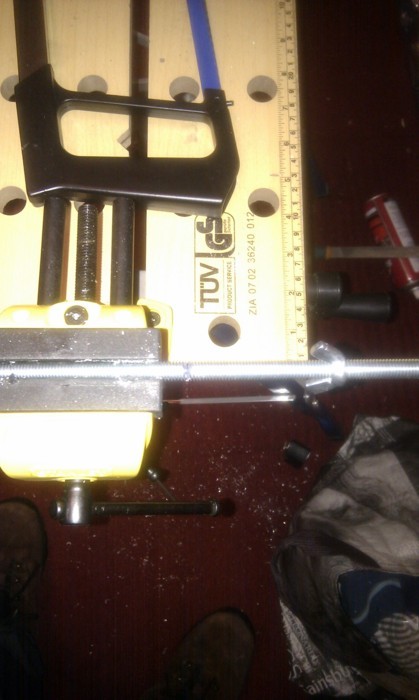
the rails for the baseplate are threaded poles which are cut to length.
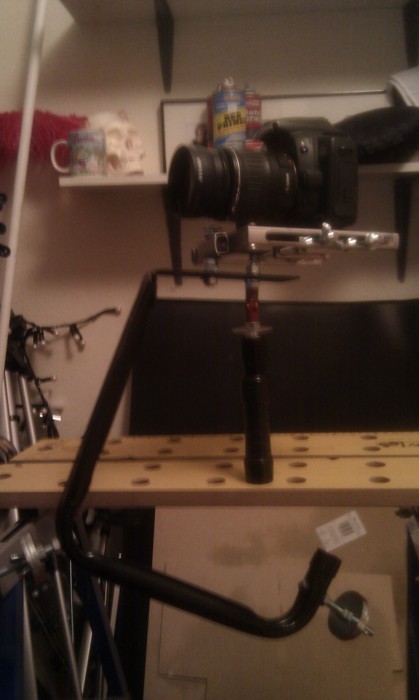
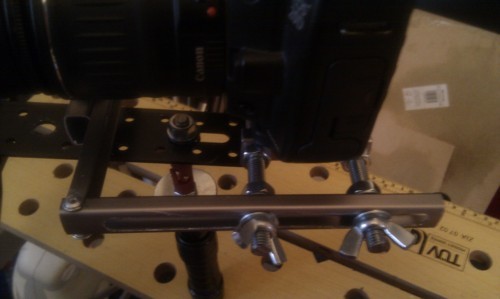
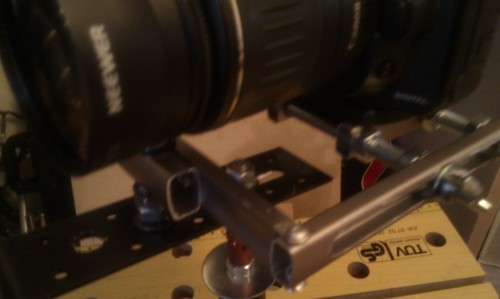
details of the new adjustable baseplate, it can now move as precisely as it needs to. Visible also just under the universal joint is a polished disk i added which allows you to control the pan of the camera smoothly, it being polished lets it slips with a soft grip keeping the movement smooth.

looks complicated, but interesting nonetheless.
ReplyDeleteKewl, what camera do you own?
ReplyDelete60D,the camera in the photos is a 20D in it's modelling début
ReplyDeleteQuality building man, nice work
ReplyDeleteAwesome tutorial man, could come in handy one day, keep up the amazing work :D
ReplyDeleteBrilliant! I don't own a super expensive camera, but it does 1080p video. I tried taking it snowboarding... but it was too shaky. I might try this.
ReplyDeletevery nice review this is new to me also nice golden spider :3 +followed
ReplyDeleteSo, this is just going from the name alone, but is this thing so made so that you can take pictures/video without shaking the camera and stuff?
ReplyDeletenice tutorial it looks awesome
ReplyDeleteGreat, what do you plan shooting with it?
ReplyDeletehey nice blog, i'm following you!
ReplyDeletewow thanks! i only need the 5d now hahaha
ReplyDeleteNice one dude. Great analogy too!
ReplyDelete